Taking Screen Shots on Mac is a very easy and simple task.
In this Post, ‘m describing the ways to take screen shots on Mac.
- For
Entire Screen Shot: Press Command+Shift+3.
This will save a PNG image of entire screen on desktop.

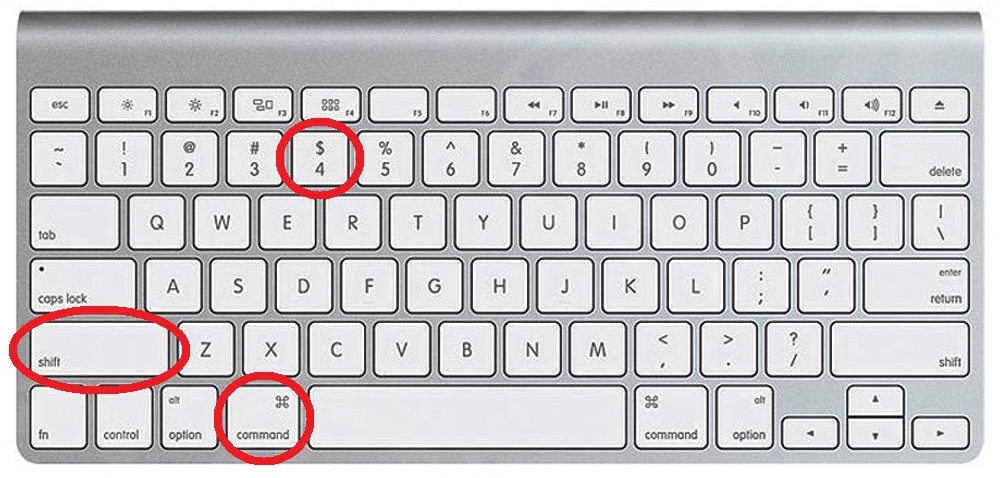
- For Selected
Screen Area: Press Command+Shift+4.
A Cross-Hair Cursor will appear and you can select the area of screen you want
to capture. Just after releasing the cursor, a PNG image will be saved on your
desktop.
- For an
Active Window: Press Command+Shift+4
and then press Space Bar. This will
change the cursor into a camera. Now move the cursor over the window you want
to capture. This will highlight the window. (It’s not important for the window
to be visible entirely.) Now click the on the window. This will save a PNG
image of the window on your desktop.

- Screen Shot
in Clipboard: Press Control key (Ctrl
key) together with any other combination. This will not save any PNG file
on desktop. But will copy the screen shot in Clipboard.

- Using
Preview: You can also take screen shots using Preview. Click on File>Take
Screen Shot, then you can select the way you want to take the screen shot.

- Using
Grab: Launch the Grab Application from Applications>Utilities.

Select capture from the menu and select the way you want to take the screen shot. The default format of file is .TIFF

I hope this will be helpful for you. If any of the readers want to add anything important in this article than share it with us in comments.
Stay tuned to know more about Gadgets, Windows etc. Don't forget to like us on Facebook and follow us on Twitter and Google Plus.
No comments:
Post a Comment